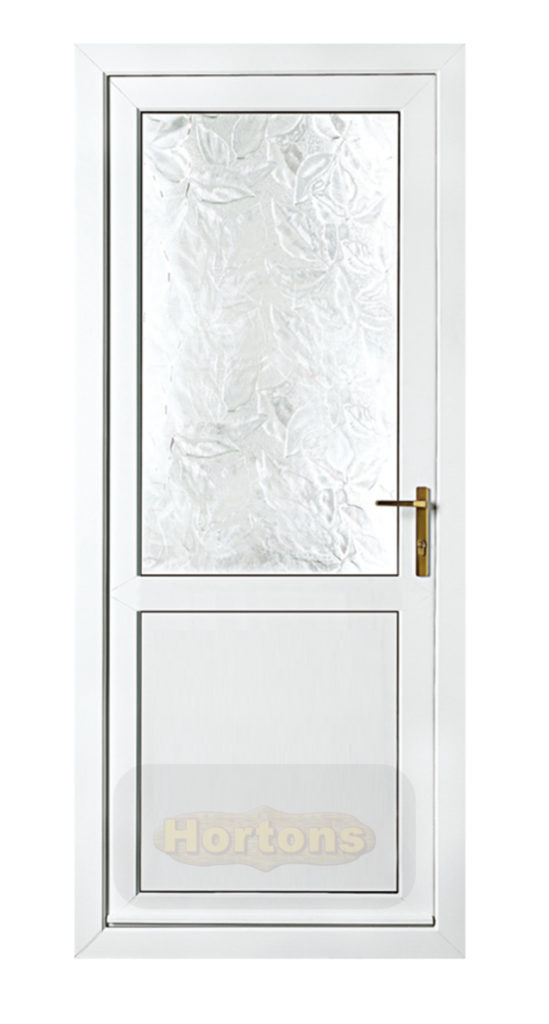
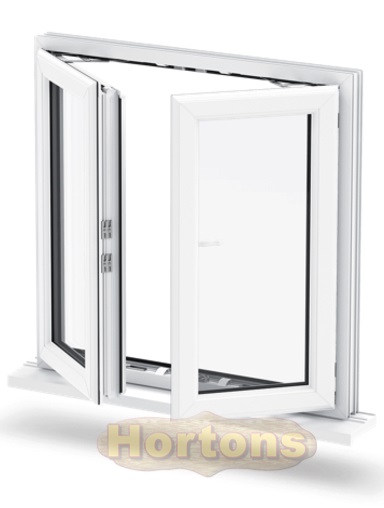
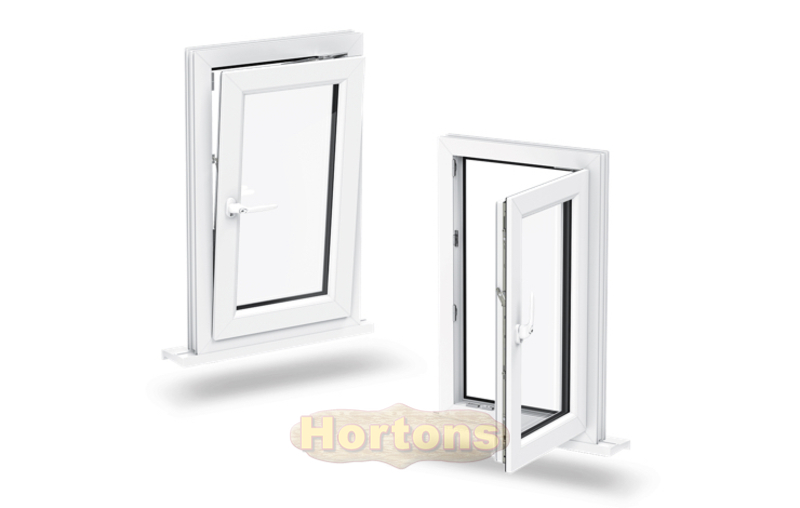
After extensive research and development, we are now able to offer uPVC doors and windows with our cabins. Our doors have half glazed, fully glazed and full panel door options and also tilt & turn options for our windows as well –
The obvious main advantage is that they require virtually no long term maintenance. No more painting them every few years (hooray!). This option does cost a little more than wooden joinery. But you will save a lot of time and money over the lifetime of the building. There are numerous colour options, so we can match the colour of your building.
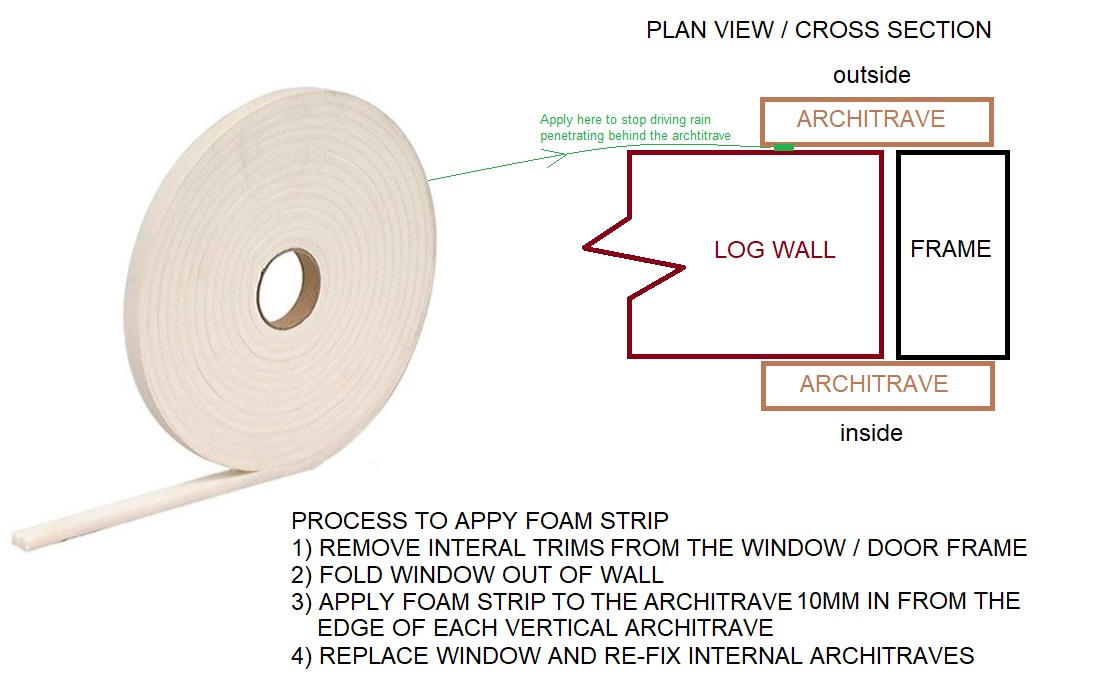
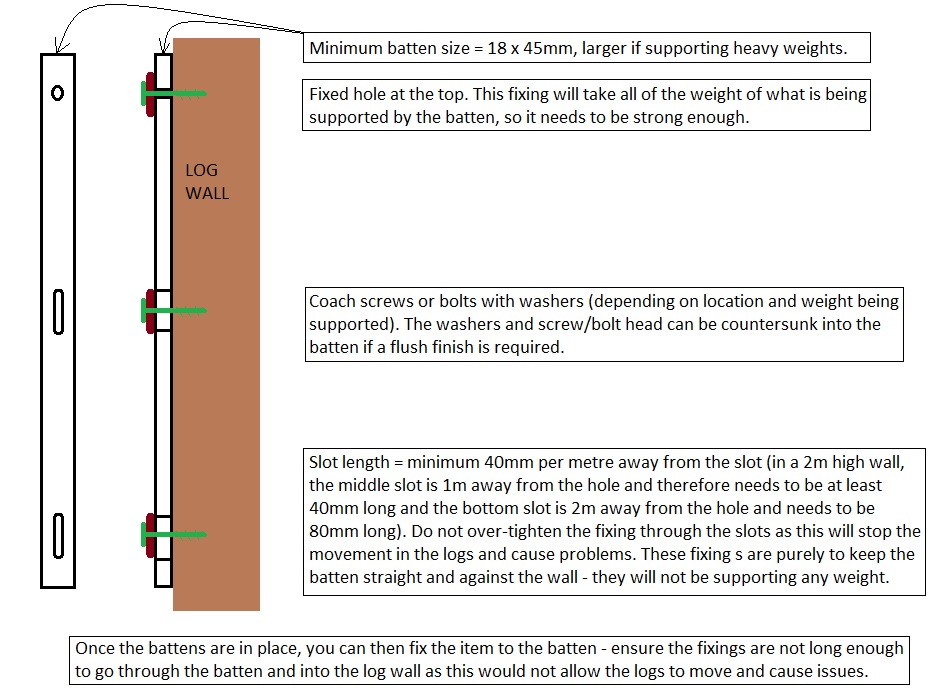
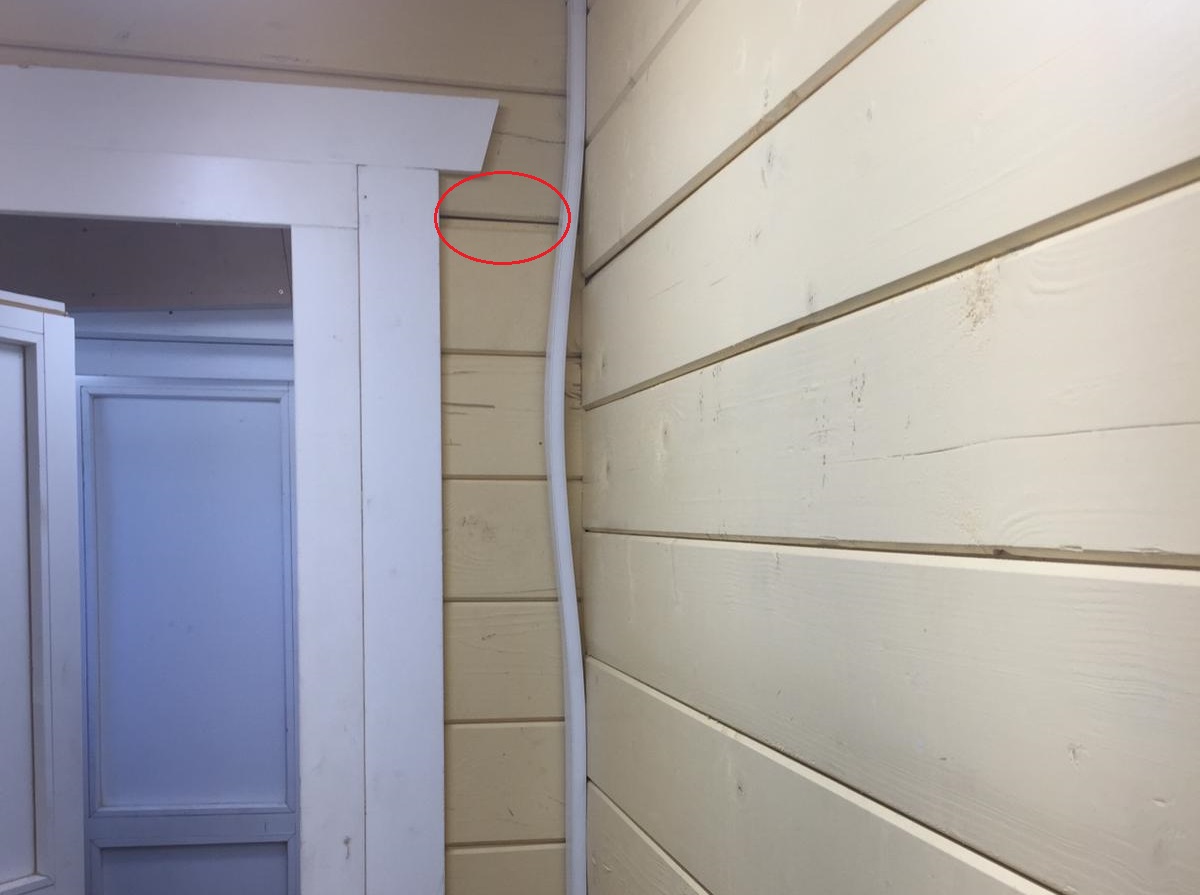
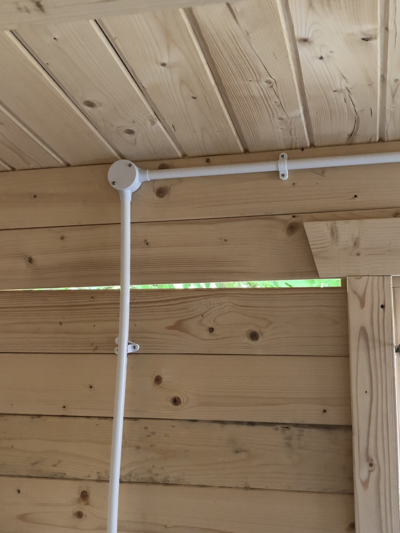
The advice over the years that it is not possible to fit uPVC windows or doors to log cabins. This is because the wall logs need to move freely (which all log cabins do). Therefore we have devised a method that allows for the logs to move when fitting our new uPVC windows and doors.
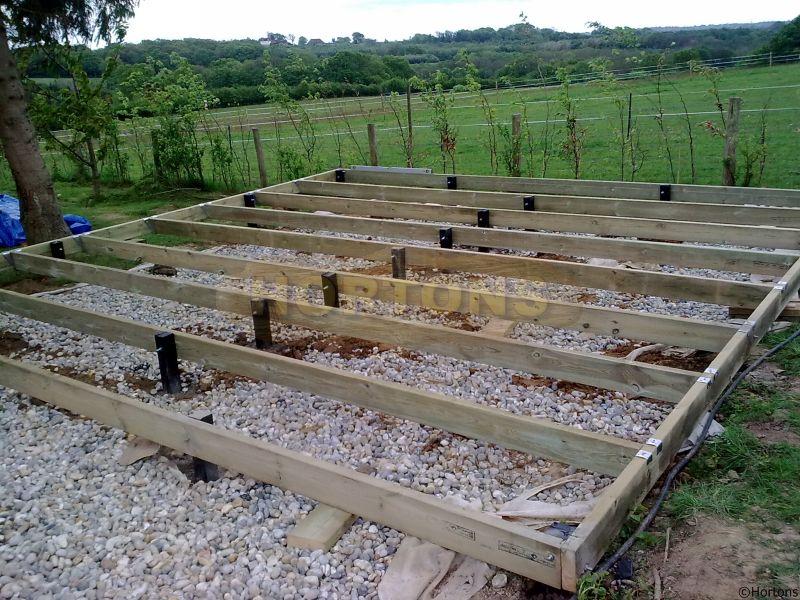
We also sell a wide range of timber frame garden buildings. This is much more straight forward. It is easily possible to screw any uPVc items into the holes in the walls in these particular buildings. However, even this is not that straight forward if you use standard uPVC frames. Waterproofing them can be tricky as you end up with “butt” joints all round. It can look ugly so you have to add a number of trims inside and outside to make them “neat”. We have designed our uPVC joinery frames so that they don’t need any of this! Simply push them into the holes and fixed with screws! No extra trims or waterproofing required as this is all integral to the frames already!
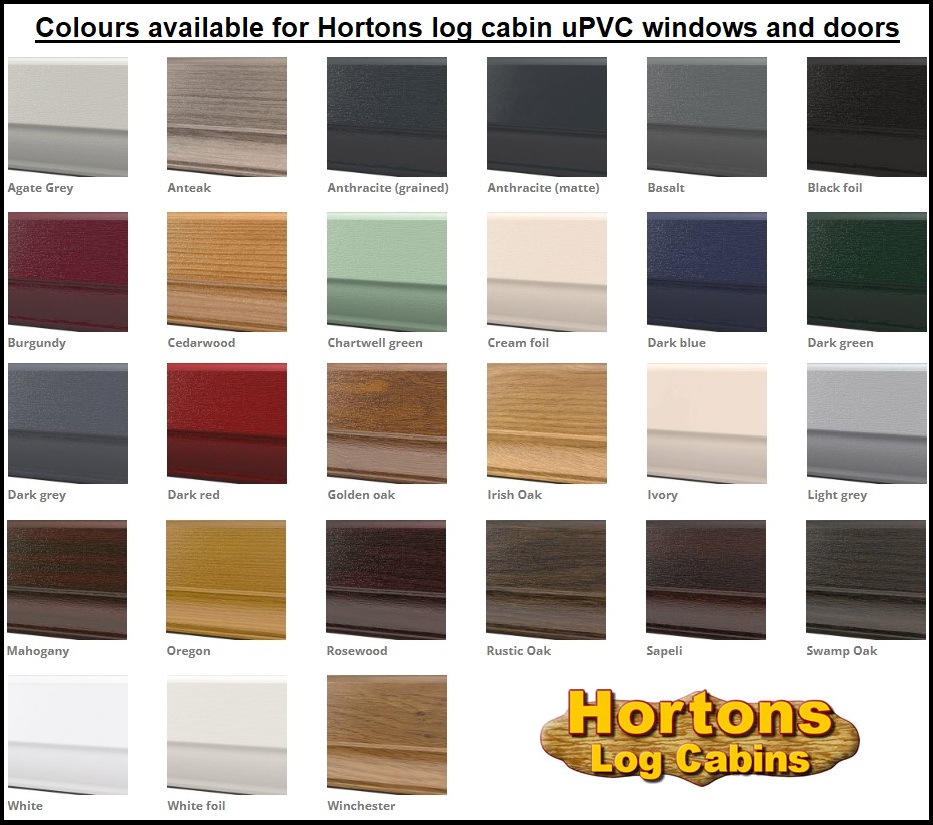
There are numerous colours to choose from –